Disclosure: This article may contain affiliate links. If you buy a product through an affiliate link, we may receive a commission at no cost to you.
BioLite grabbed headlines when they came out with the CampStove because it has a built-in thermoelectric generator to create electricity. They’ve since updated it with the CampStove 2+, and offer a cooking kit for it that has everything you need for cooking outdoors. We enjoy cooking on a variety of equipment, so we were excited that BioLite sent us one to try out.
Features
CampStove 2+
- Retail price of $149.95 (check price) or $274.80 (check price) for the CampStove and Cook Kit
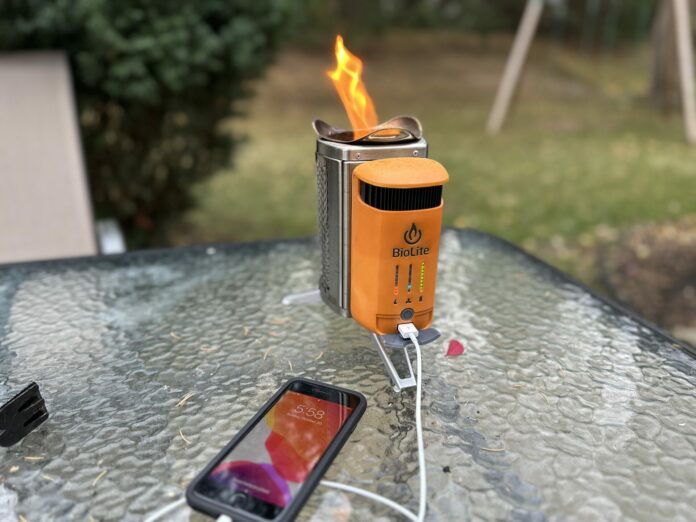
- Has a 3,200 mAh battery that generates more than 3W of power at 5v
- USB port to charge your electrics and a separate port if you want to charge the internal battery
- Thermoelectric generator to recharge the battery
- Internal fan to feed oxygen into the fire for control and a more complete burn
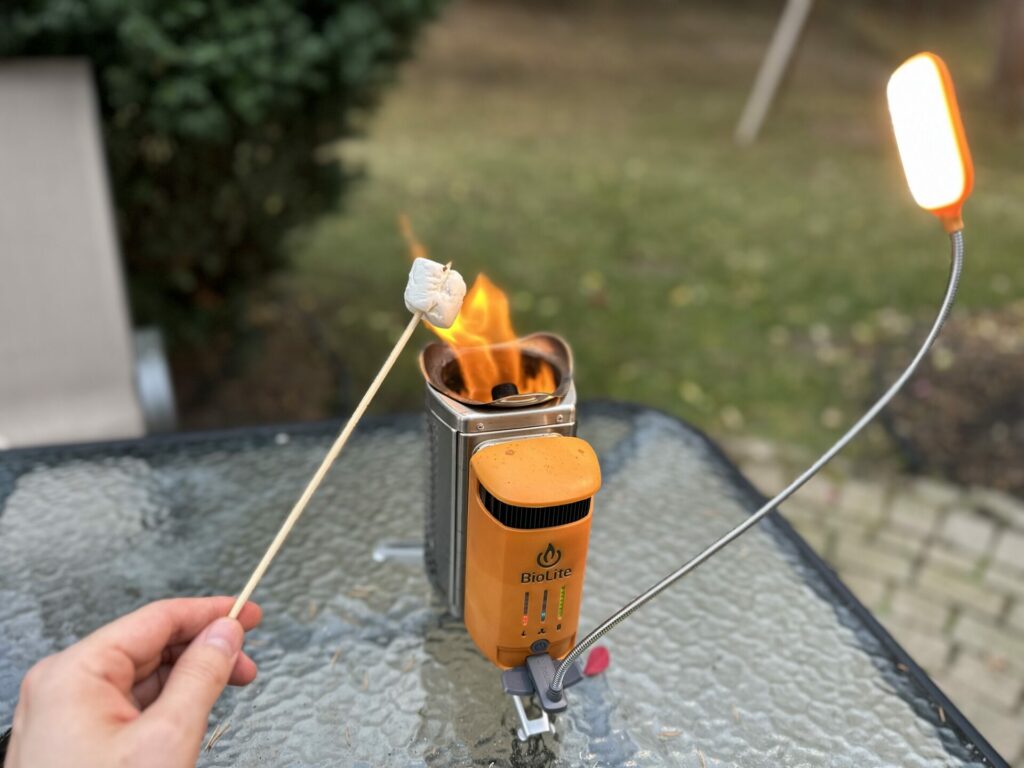
- Includes an LED FlexLight
- Lightweight at 2.06 lbs
Complete Cook Kit
- Includes a grill that will fit up to four burgers
- Includes a kettle for boiling water or cooking
- Includes a French press for making coffee
- Includes a plastic tray and cup
Summary
Pros
- Very versatile – it can do a lot
- Thermoelectric generator to control the fire and keep your phone charged
- Light and compact design
Cons
- Grill doesn’t lock into place
- No lid for the grill
- No cover for the hot side of the thermoelectric generator when disassembled
CampStove 2+ Review
Overview
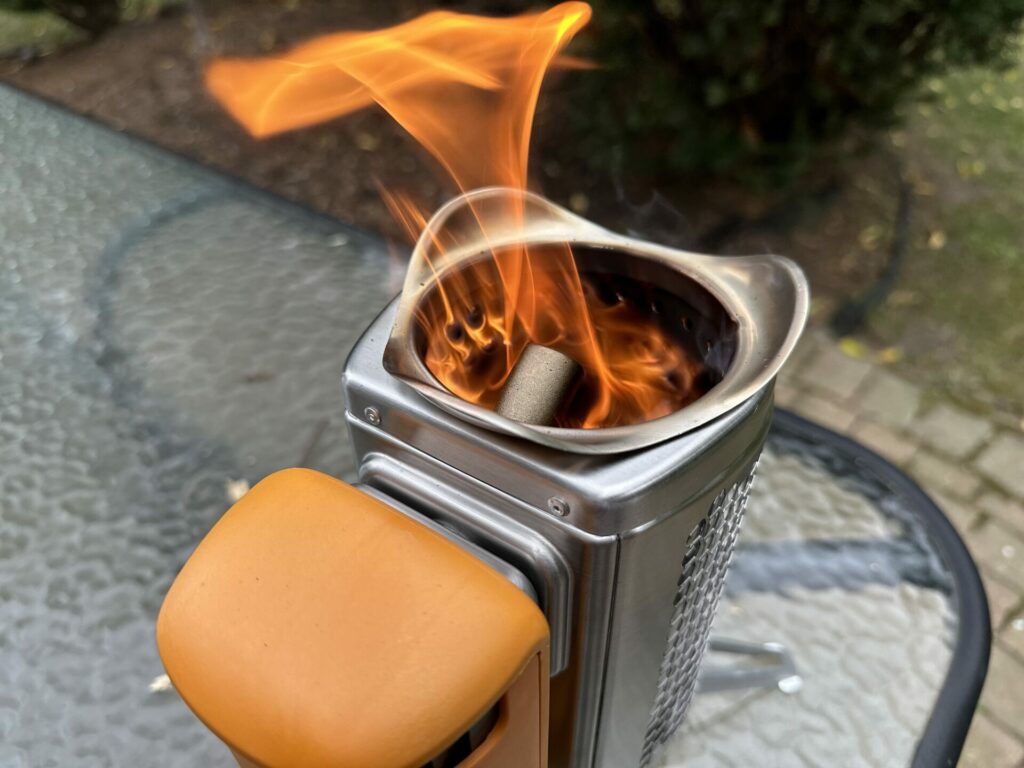
The CampStove 2+ is an electricity generating camp stove that can run on sticks or pellets to give you warmth and for cooking. You light it with either small sticks or a fire starter, then once it gets hot enough, a fan automatically turns on to improve the efficiency of the burn.
You can control the fan with a button on the CampStove to build the strength of the fire. To help with that, there are LEDs on the CampStove that tell you the amount of power in the battery, the speed of the fan, and how hot the fire is.
The battery pack comes off the fire chamber on the camp stove and can be stored inside the cylinder. The legs are collapsible, making the design really compact and portable.
Fire Building Tips
It was really easy to build a fire and keep it going. You can use both sticks that you gather or pellets to build a fire in the CampStove 2+. If you’re using sticks as a fuel source, start by gathering a large pile of varying sizes. Make sure they aren’t green, which you’ll know if they snap rather than bend.
Break the sticks down into sizes small enough to fit in the camp stove prior to starting it, to make it easier. Start with the smallest diameter sticks first when you’re building a fire and gradually add larger sticks as you build a coal bed.
While you can add pellets to keep a fire going, if you start a fire with pellets, you’ll want to use a fire starter.
Phone Charging
The battery on your CampStove can be wall charged prior to your adventure. BioLite recommends starting with a full battery when you’re going to use it.
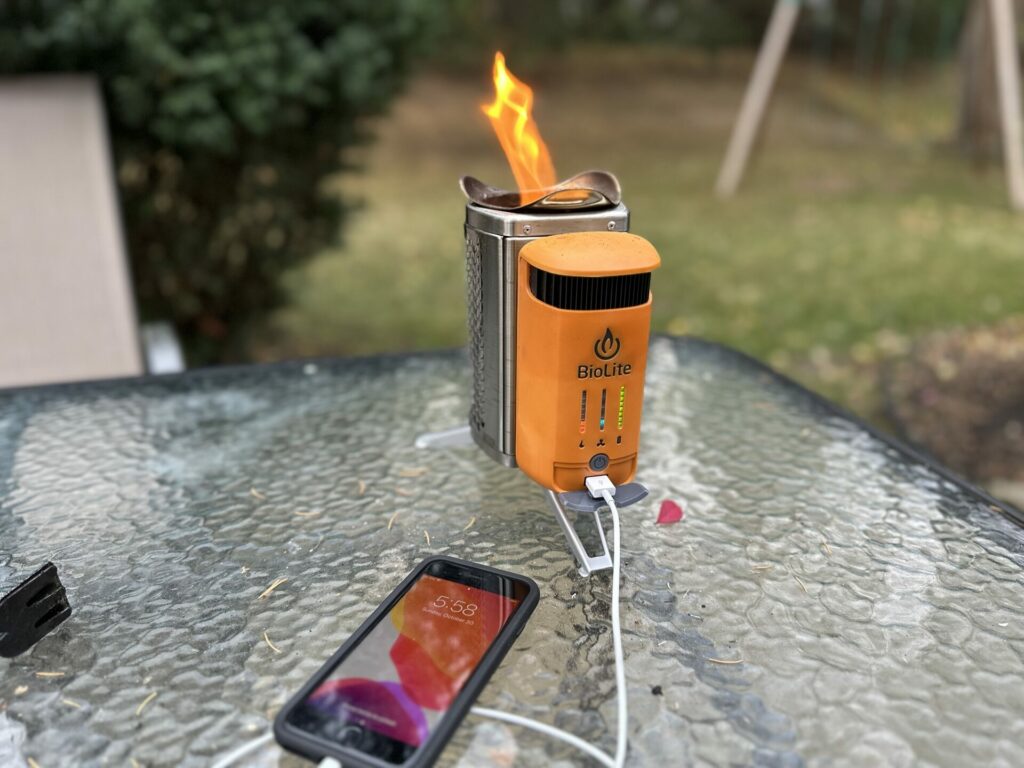
We found that the thermoelectric generator worked just as advertised for powering the fan on the stove, charging a phone, and powering the included flexible light. It was really cool to burn a hot fire and watch the battery charge indicator go up to full.
The only con we found from this capability is that they designed it so you can take the battery pack with you, but there’s not cover for the hot pole on the thermoelectric generator. That’s the part that sticks in the fire to help with electricity generation. Since it’s sitting in a fire, soot develops on the pole. It’s not exactly something you’d want rubbing against clothes or a sleeping bag.
Summary
If you’re looking for a open fire camp stove, the BioLite CampStove 2+ is a great option. It’s priced well, works well, and has thermoelectric generation that sets it apart from all other camp stoves on the market.
Complete Cook Kit Review
Overview
The Complete Cook Kit makes the CampStove much more versatile. Rather than restricting you to cooking on an open flame, you have a grill, a pot and a French press that all work well with the CampStove.
Portable Grill
The portable grill rests on top of the CampStove and has two supports that fold out to keep the grill stable. While it felt stable during cooking, we do wish that it locked into place on the CampStove for extra piece of mind.
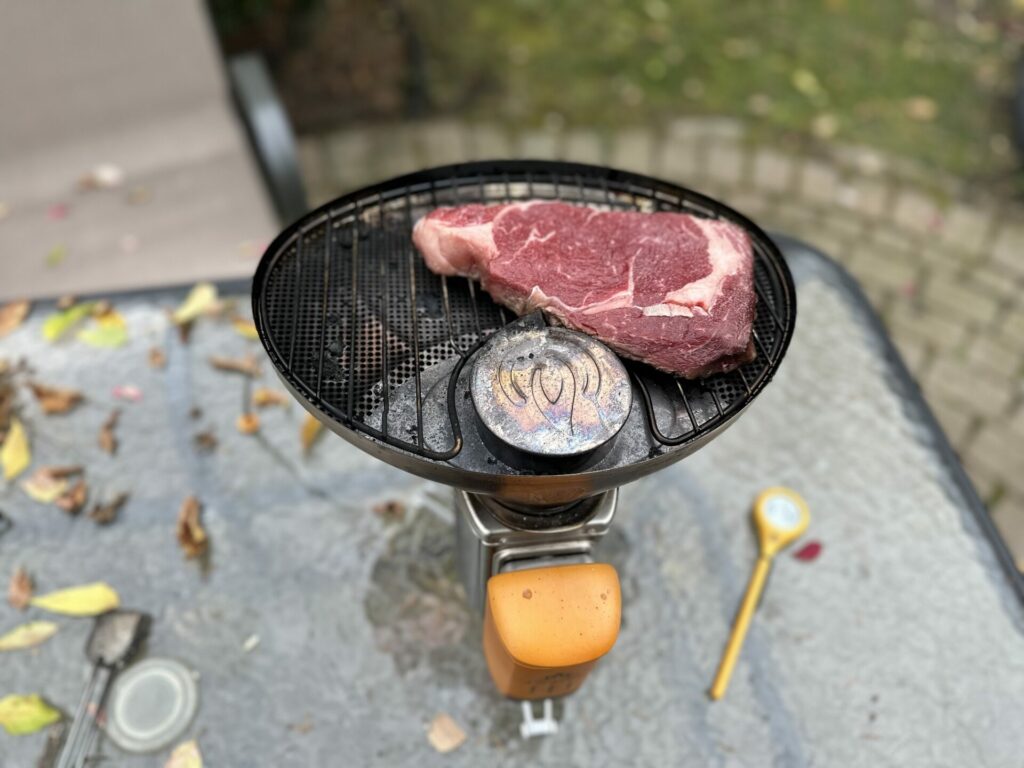
For fire control, there’s a hatch that opens up so you can feed the fire. When it’s closed, it deflects heat and flames out onto the grill surface.
Two Zones
There are two heat zones on the grill to be aware of when cooking on it. The area surrounding the hatch is all hot, while the outer half of the grill is cooler. We used an IR Thermometer to see how much cooler, and it’s a good 200 degrees F less, when the hot zone is north of 500 degrees F.
Steak Cooking Tips
We wish there was a lid for the grill to keep heat in. It would expand what you can cook on it and how you can cook on it. Absent that, the best way is to make sure you’re turning and rearranging your food.
For a steak, put it on right next to the hatch once the fire is hot. Then after it’s cooked for a couple minutes, turn it 90 degrees counter-clockwise and put it on the other side of the hatch to cook the edge to get an even cook. Once it’s been in that position for a couple minutes, flip it and repeat the process. Since there’s no lid, make sure you’re steak isn’t too thick and it’s properly defrosted. You end up with some great, wood fired flavor.
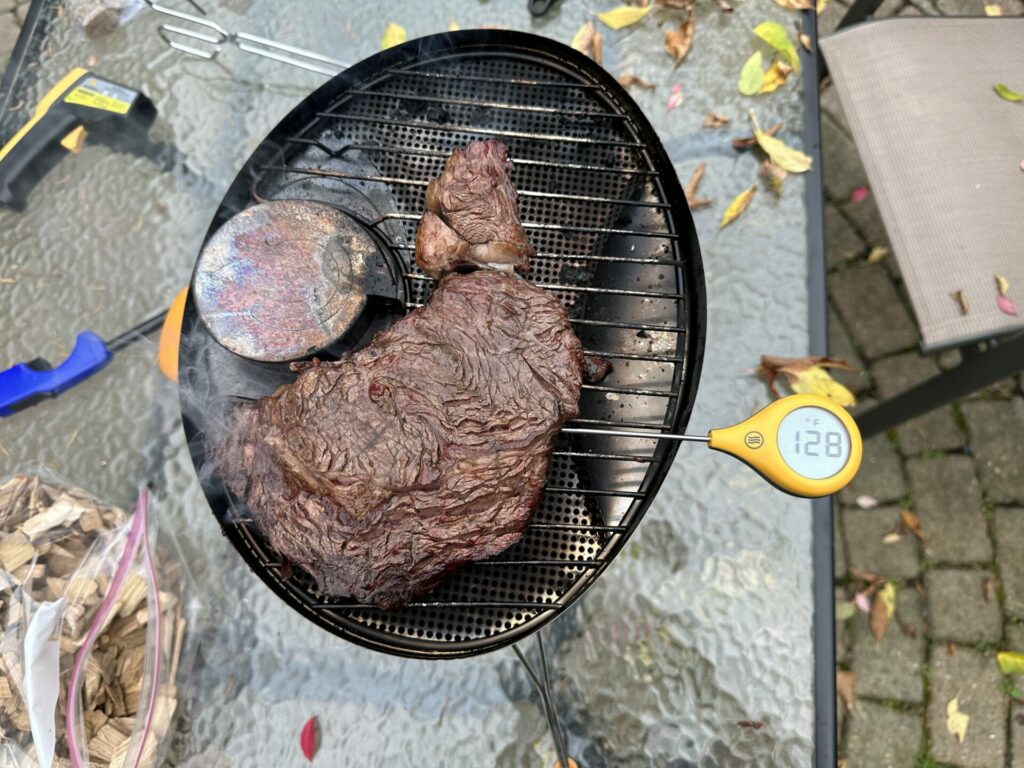
Make sure to use a good meat thermometer when cooking because of how variable the heat can be. We used the new ThermoWorks ThermoPop 2 during testing because it’s cheap, fast, and reliable.
KettlePot and Coffee Set
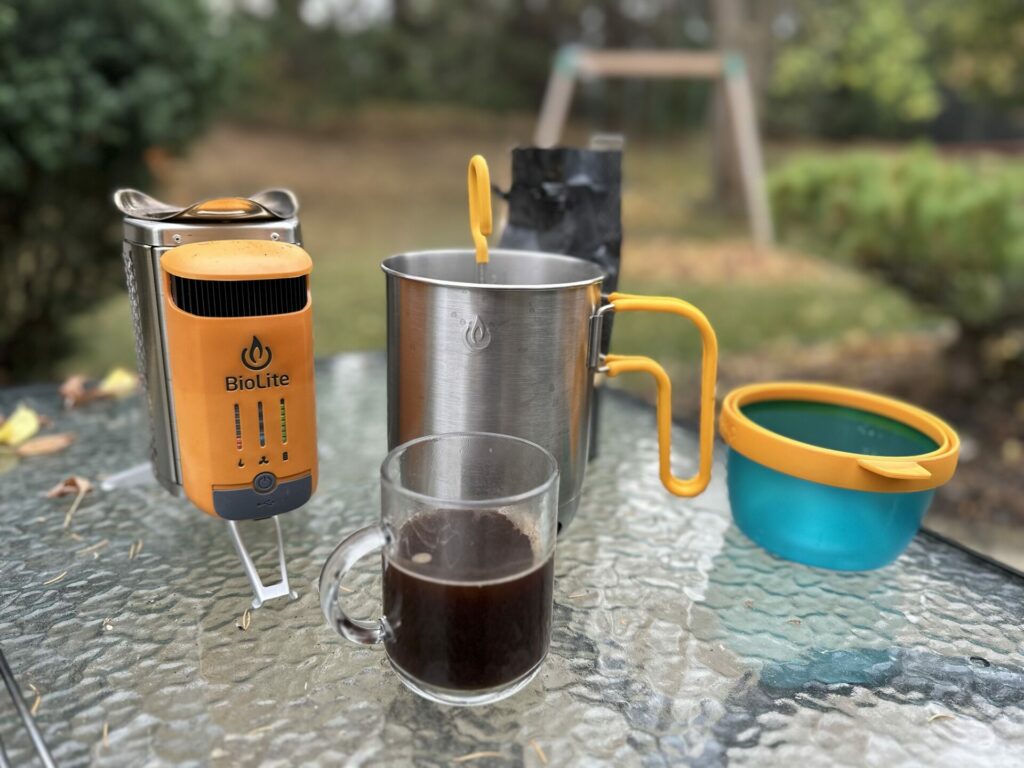
The KettlePot and Coffee Set worked really well with the CampStove. The cutout design on the base of the KettlePot is great for airflow and for monitoring the fire, while the handle is well insulated to prevent burns.
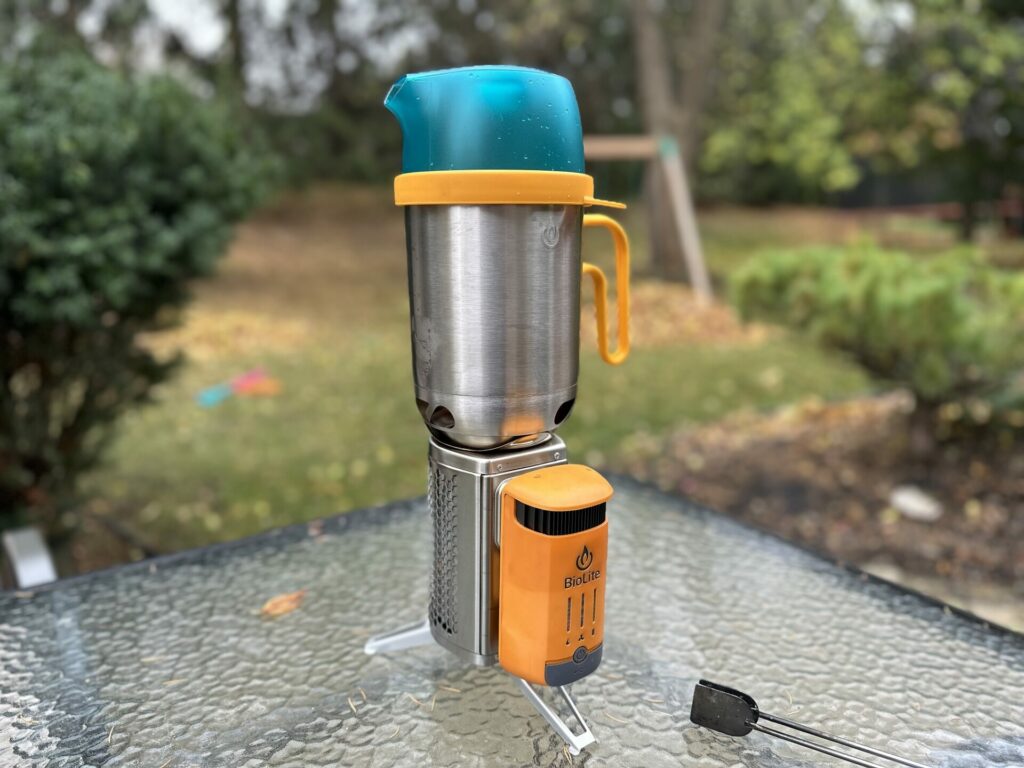
There’s a silicone sealed lid that locks nicely in place on the pot and helps get a quick boil on water. The coffee press also works well for getting a caffeine fix and even collapses down for portability.
While making coffee and boiling water is the most obvious use for the KettlePot, it can also be used for making soups or anything else you’d use a pot for.
Summary
The CampStove Complete Cook Kit is well worth the expense. It completely transforms what cooking the CampStove can do. The KettlePot is a great design and, while the grill isn’t without faults, having a cooking surface drastically expands your cooking capabilities.
Tips and Tricks
Fire Management While Cooking
We cooked for many hours with the Complete Cook Kit, so it got difficult and annoying to forage enough sticks to keep it fueled. Using wood pellets helped the situation, but we often had them miss the opening to the fire and end up on the hot grill surface. Plus, the pellets don’t easily ignite, which makes it hard for cooking at high heat.
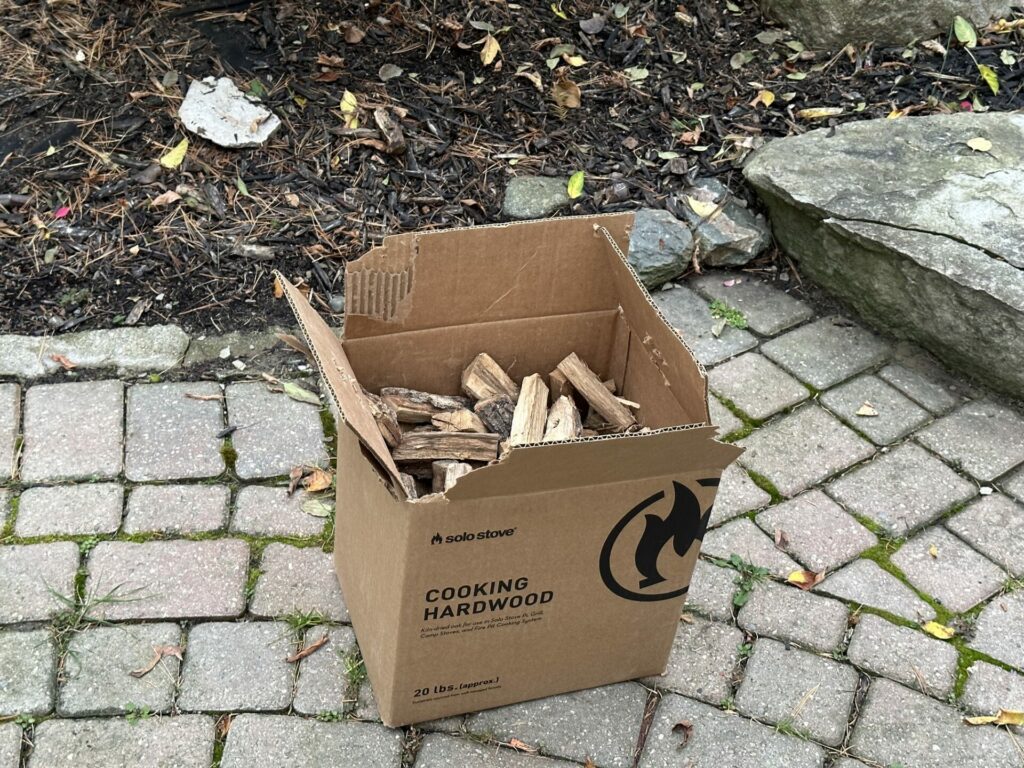
There were two sources of fuel that worked great though and made the experience much easier. The first is Solo Stove sells mini oak firewood by the box. We had a box on-hand from other product testing and found it to be a good size for the CampStove. Having a box of split oak wood, was really convenient. Just make sure that you’re fire is good and hot before using the oak.
The second source that worked really well was using wood chips that are usually used for smoking meat. You can buy them by the bag, much like wood pellets. It was easier to drop them in the fire hatch and they ignited quickly. They also didn’t snuff out the fire when you added them. Plus, like the mini oak splits, it was convenient to have a bag of fuel for cooking.
Long Cooks
Since we spent so long testing all the features of the BioLite CampStove 2+, we had fires going for a long time. One challenge with that is the fire chamber on the camp stove would get filled with spent wood, making it hard to fuel it. To avoid this problem, make sure you’re focused on cooking, so you can be efficient with it.
Re-lighting the Fire
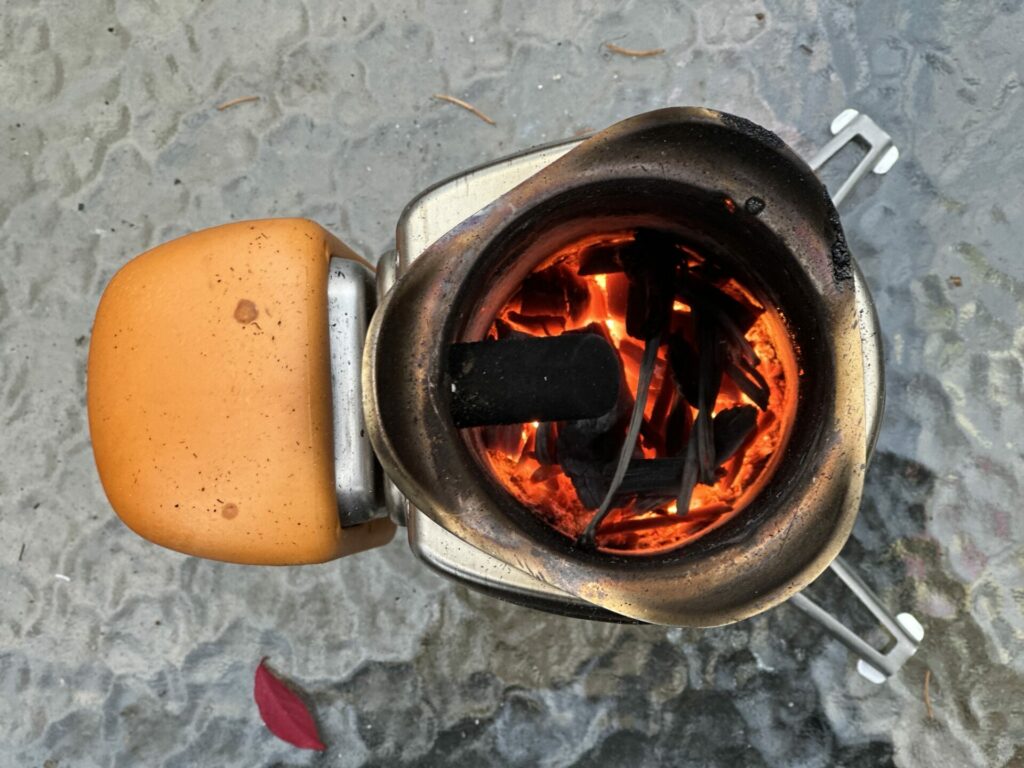
While using the CampStove, you’ll have times when you aren’t paying enough attention and the fire will go out. We found an easy way to get it going is to first turn the fan up a little and add some kindling. It will start blowing thick smoke out like a flamethrower (a smokethrower?). Then, using a long lighter or a small piece of lit fire starter, put a flame into the camp stove. It’ll ignite really quick and you’ll be back in business.
Tabletop Fire Pit
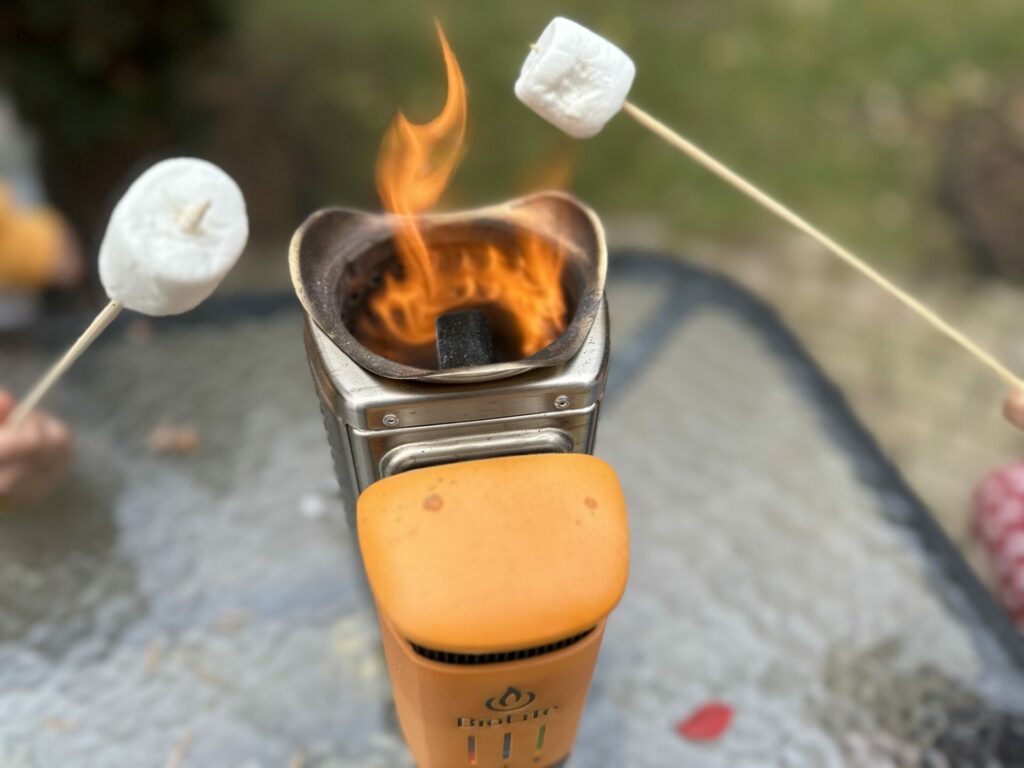
While BioLite also makes a great fire pit, the CampStove works well as a little tabletop fire pit. It’s a little smaller than the Solo Stove Mesa, but it’s big enough to create some ambience and roast some marshmallows. It also keeps your phone’s battery topped off while you’re enjoying a Spotify playlist in the backyard.
